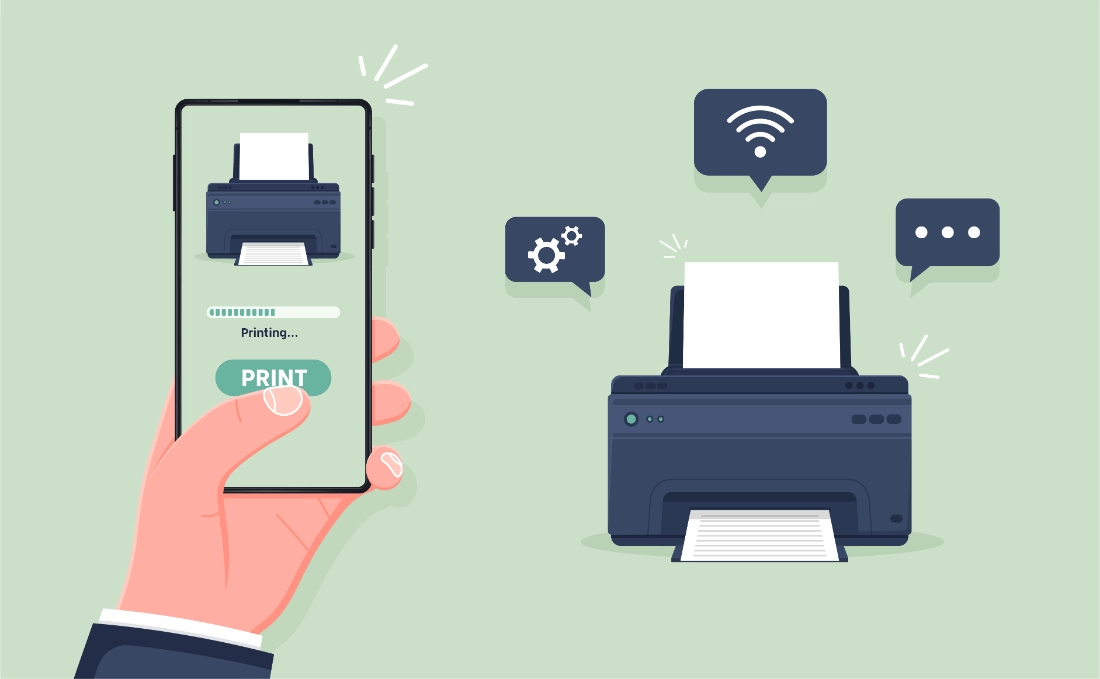
Setting up a wireless printer can seem daunting, but with the right steps, you’ll have it up and running in no time. This guide walks you through the process of installing a wireless printer, ensuring you can print effortlessly from your devices. Whether you’re using a Windows PC, Mac, or mobile device, these steps are designed to be straightforward and universal for most wireless printer models.
Step 1: Unpack and Set Up Your Printer
Start by carefully unpacking your wireless printer. Check the box for the printer, power cable, ink or toner cartridges, and any included setup CD or documentation. Place the printer in a stable, accessible location near your Wi-Fi router for a strong signal.
Power On the Printer: Plug in the power cord and turn on the printer. Follow the on-screen prompts (if your printer has a display) to select your language, region, and time zone.
Install Ink or Toner: Open the printer’s cartridge compartment and install the ink or toner cartridges according to the manufacturer’s instructions. Most printers include starter cartridges, so ensure they’re securely in place.
Load Paper: Insert paper into the printer’s paper tray. Adjust the guides to fit the paper size (usually A4 or Letter).
Step 2: Connect the Printer to Your Wi-Fi Network
A wireless printer needs to be connected to your Wi-Fi network to function. Most modern printers support Wi-Fi, and there are two common ways to connect:
Option A: Using the Printer’s Control Panel
Access the Wi-Fi Setup Menu: On the printer’s display, navigate to the “Settings” or “Network” menu. Look for an option like “Wireless Setup” or “Wi-Fi Setup.”
Select Your Network: The printer will scan for available Wi-Fi networks. Choose your home or office network from the list.
Enter the Wi-Fi Password: Use the printer’s keypad or touchscreen to enter your Wi-Fi password. Double-check for accuracy, as passwords are case-sensitive.
Confirm Connection: Once connected, the printer will display a confirmation message, and the Wi-Fi indicator light (if present) will stop blinking and remain steady.
Option B: Using WPS (Wi-Fi Protected Setup)
If your router supports WPS, this is a quicker method:
Press the WPS button on your router (usually located on the front or back).
Within two minutes, press the WPS button on your printer (check your printer’s manual for its location).
The printer will automatically connect to the network without requiring a password.
Step 3: Install Printer Software on Your Device
To enable printing from your computer or mobile device, you’ll need to install the printer’s software or drivers. Here’s how to do it for different devices:
For Windows or Mac
Check for a Setup CD: Some printers come with a CD containing drivers. Insert it into your computer and follow the prompts. If no CD is included, proceed to the next step.
Download Drivers: Visit the manufacturer’s website (e.g., HP, Canon, Epson, Brother) and search for your printer model. Download the latest drivers or software package for your operating system (Windows or macOS).
Run the Installer: Open the downloaded file and follow the on-screen instructions. The installer will typically detect your printer on the Wi-Fi network and configure it automatically.
Add the Printer:
Windows: Go to Settings > Devices > Printers & Scanners > Add a Printer or Scanner. Select your printer from the list.
Mac: Go to System Settings > Printers & Scanners > Add Printer, Scanner, or Fax. Select your printer and click “Add.”
For Mobile Devices (iOS or Android)
Many wireless printers support AirPrint (for iOS) or Google Cloud Print/Mopria (for Android), making setup easy:
Ensure Wi-Fi Connection: Make sure your phone or tablet is on the same Wi-Fi network as the printer.
Install the Manufacturer’s App: Download the printer’s app (e.g., HP Smart, Canon PRINT, Epson iPrint) from the App Store or Google Play Store.
Follow App Instructions: Open the app, and it will guide you to locate and add your printer. You may need to scan a QR code or manually select the printer from a list.
Test Print: Open a document or photo, tap the share icon, and select “Print.” Choose your printer and send the print job.
Step 4: Test Your Printer
Once the setup is complete, print a test page to ensure everything is working:
From the Printer: Most printers have a “Print Test Page” option in the settings menu. Navigate to it and print.
From Your Device: Open a document or image, select “Print,” and choose your wireless printer. Adjust settings like paper size or quality if needed, then print.
If the test page prints successfully, your printer is ready to use!
Troubleshooting Common Issues
Printer Not Found: Ensure the printer and device are on the same Wi-Fi network. Restart both the printer and router to refresh the connection.
Driver Issues: If the printer isn’t detected, double-check that you’ve installed the correct drivers from the manufacturer’s website.
Wi-Fi Signal Weak: Move the printer closer to the router or reduce interference from other devices.
Firmware Updates: Check the manufacturer’s website or printer’s control panel for firmware updates to resolve connectivity or performance issues.
Tips for Optimal Use
Keep Drivers Updated: Periodically check for software or driver updates to maintain compatibility with your devices.
Use the Right App: For mobile printing, the manufacturer’s app often offers more features than default printing options.
Secure Your Printer: Change the default admin password on your printer’s settings to prevent unauthorized access, especially if it’s accessible over the internet.
Conclusion
Installing a wireless printer support is a straightforward process when broken down into manageable steps. By connecting your printer to your Wi-Fi network, installing the necessary software, and testing the setup, you’ll be ready to print from any device in no time. If you encounter issues, refer to your printer’s manual or the manufacturer’s support website for model-specific guidance. Happy printing!
